I wanted to make a little baby gift for a friend who had a sweet little boy about a week or so ago. So, I bought a white onesie and a little pair of blue pants (each $2 at Wal-mart) and stenciled this...
This took me about 15 minutes (once I found the stencil and brush and paint...). Fast and easy and cute! Yay!
I love stenciling shirts for my kids and I've made loads over the years. I originally posted a tutorial for how I go about making the stencils at
Craftster in 2007. But I'll repost it below...
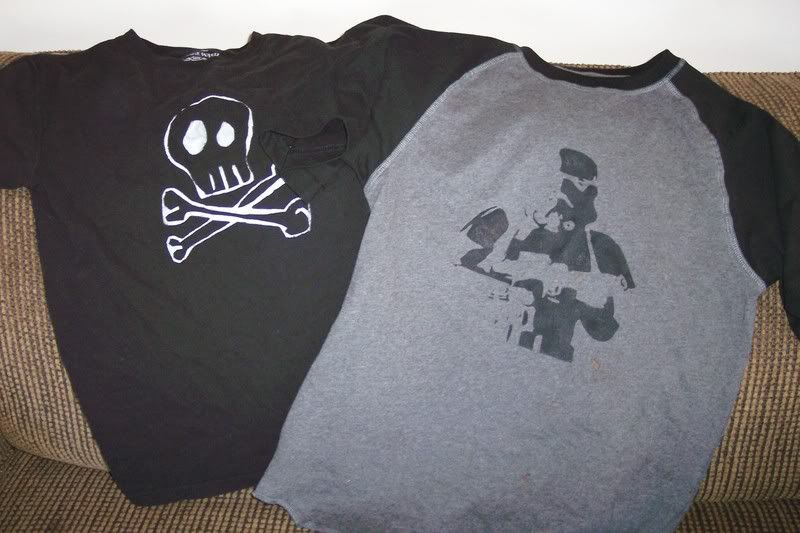
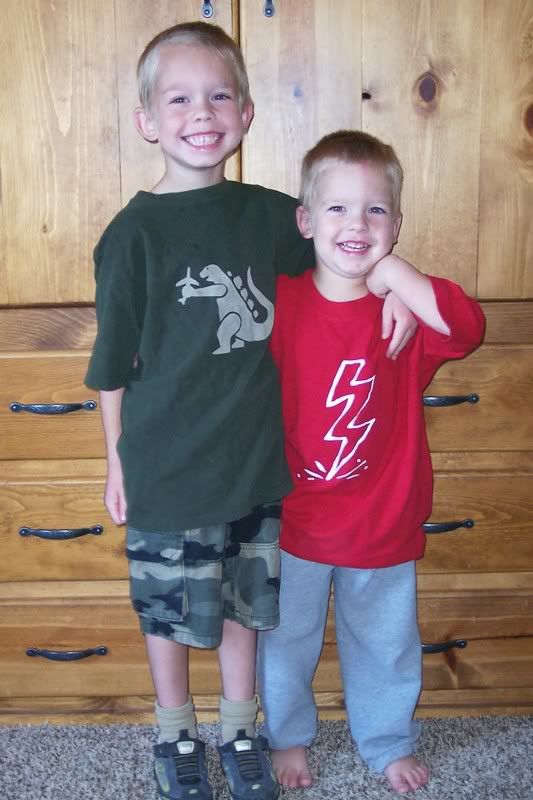
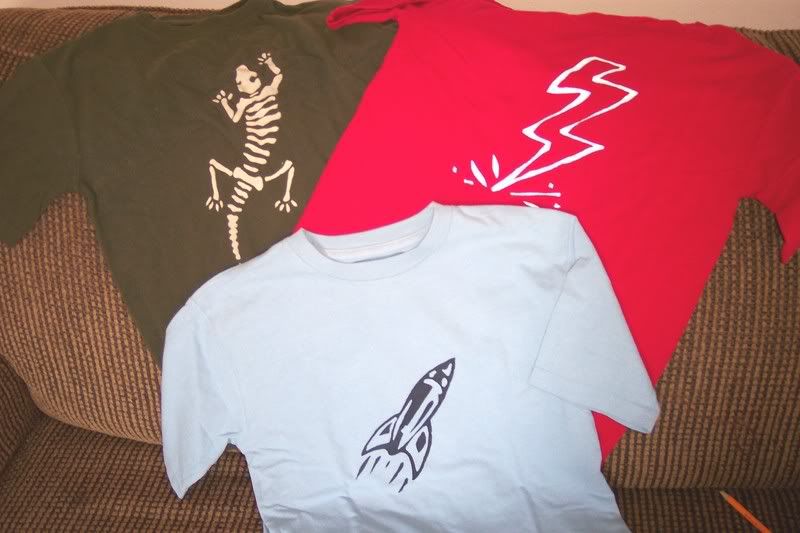
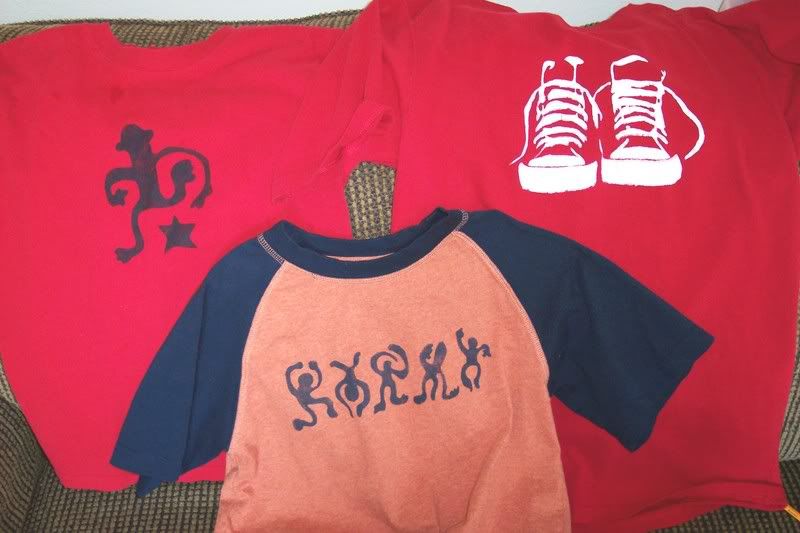
Well, there are a lot of different methods for stenciling, so I'll just tell you what works for me....
I buy clear vinyl. They sell it by the yard at wal-mart. It's on big rolls at mine, near the red and white picnic vinyl. I buy the thickest they have. Then I print out my image. I cut out a piece of vinyl a bit bigger than my image and I place it under it and trace the image with a fine point sharpie. Then I tape it to a thin board (it was just some scrap stuff my husband gave me) and I cut it out. I started out last year with just a plain ol' exacto knife. But then I discovered the world of Hot Knives! And, oh, they cut so nice! I just bought mine in the craft section at wal-mart. It was about $20 and totally worth it. (Sorry I can't remember the brand and the exact name and it's in the basement in a box and I'm trying to type this while my baby falls asleep in her sling....) It plugs in and came with all sorts of attatchments for wood burning, fabric embossing, etc. And it came with a stencil cutter, but I found I didn't really like that--it does something weird to the vinyl. I just like the exacto knife-looking one.
So, anyway, I cut it out, remembering to add bridges to the design if there weren't any in the orginal. Does everyone know what bridges are? Hmmmmm.....well, they are....urgh. I'm not sure how to explain this....
Alright, this site kind of explains bridges...
http://www.iratethis.com/t-shirtblog/2007/08/how-to-stencil-your-own-homemade-t-shirtYou just have to put the bridges in to keep some of the areas not painted.
So, then, after it's cut out, I place some cardboard between the shirt, under the area I'm going to stencil. Then I tape the stencil in place. I use a stenciling brush (is that what they are called? It's one of those brushes with really hard bristles....) and apply just your regular everyday acrylic craft paint (remember to blot the brush on some paper towel after dipping in the paint--if you go straight from paint to shirt, the paint will bleed under the stencil and this is not pretty). I probably should use fabric paint, but so far, I haven't had any problems with the craft paint. I did robot shirts for my boys last year and they've been washed a gazillion times and the robot is still dancing on the front.
Alright,ANYWAYS (I feel like I get sidetracked quite easy...) after I paint it then I remove the stencil and use a small itty bitty brush to carefully fill in the bridges and fix any mistakes that may have mysteriously shown up (heh. Yeah, I seem to make a mistake...at least a small one with each one!) I let it dry and then I put a thin piece of fabric or paper towel over it and iron it really good. Now, my point of this is to set the paint and make it stay. But I haven't ever stenciled anything and NOT ironed it.....so, I'm not so sure this is needed. I mean, it works for me and I think it makes the paint stay better...but maybe it would stay just as good without ironing? Ah well, it's not hard and I don't want to chance it.
So, anyways (again) I then show my boys and listen to them rave about how cool it is (that is the best part! Hmmmm, I don't look forward to the day when I'm no longer so awesome in their eyes!!)
And that's it. I know some people use paper or cardboard for their stencils, but I like to reuse mine over and over. I hate to waste time on something I can only do once.
I sure hope this helped and made sense.
Good luck and if you all have more questions, feel free to holler!

(I just thought of another tip.....if you make a minor mistake when cutting out your stencil, just put a couple layers of clear tape over the boo boo and recut it.)
*******************************************************************************
Now who is going to start stencling? Hmmm? Huh? Come ON! It's way fun. Give it a shot! You can create unique and fun t-shirts for your kids. Or for yourself. Or for your husband! (I made a shirt for my handsome cowboy that says, "Never trust a man with a mustache." Yep. He has a mustache.)


